You never know what can happen tomorrow. Maibe your system will crash and you will be put in the situation of reinstalling your system. However, you can do a preemptive action like creating a repair disk before all breaks down. The System Repair Diskc can be used for booting the system but also it has some repairing tools that can help you to get back your system like it used to be.
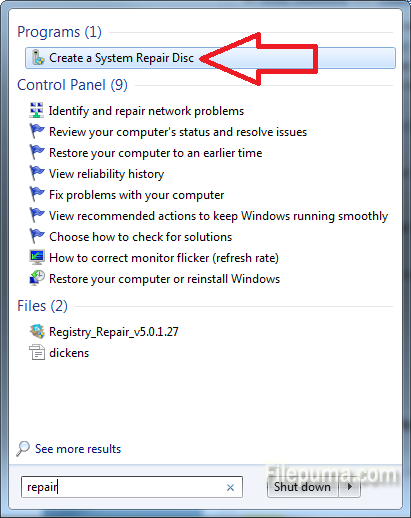
Step 1: Click on the Start button and then type “repair” in the search box below. Usually, the first result in programs will be “Create a System Repair Disc” so click on that. You can also find the program clicking on the Start button then selecting All Programs/Maintenance/ Create a System Repair Disc.
Step 2: In the newly opened window you have to select the correct optical drive and then click on the Create disc button below. However, make sure you inserted a CD or DVD in the drive. In a few minutes you will have the disk. The last thing to do is to write something with a marker and put it in a safe place.

Leave a Reply