DVD Flick aims to be a simple, but at the same time powerful DVD Authoring tool. It can take a number of video files stored on your computer and turn them into a DVD that will play back on your DVD player, Media Center or Home Cinema Set. You can add additional custom audio tracks, subtitles as well as a menu for easier navigation. Here is the instruction let you know how to burn DVDs from AVI files with DVD Flick.
1. First download and install DVD Flick from here:
http://www.filepuma.com/download/dvd_flick_1.3.0.7-7067/
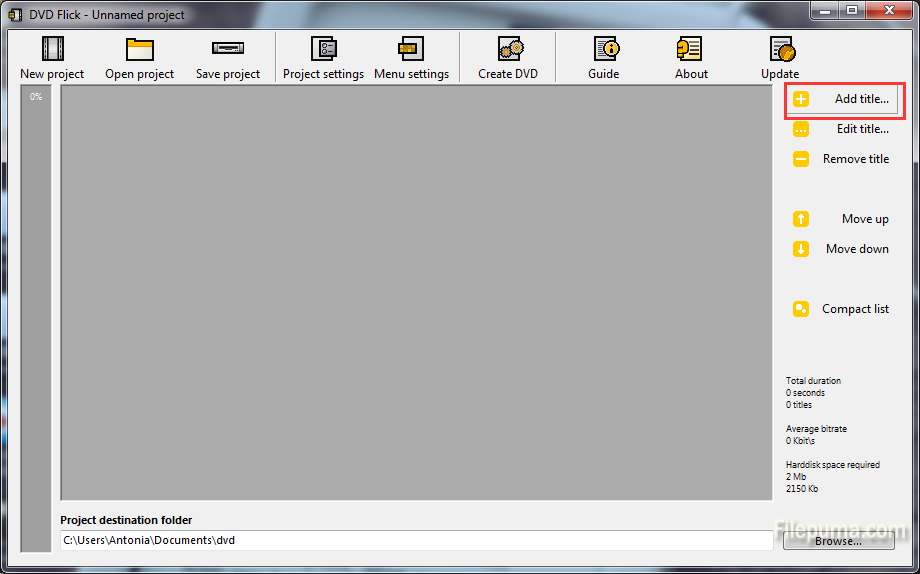
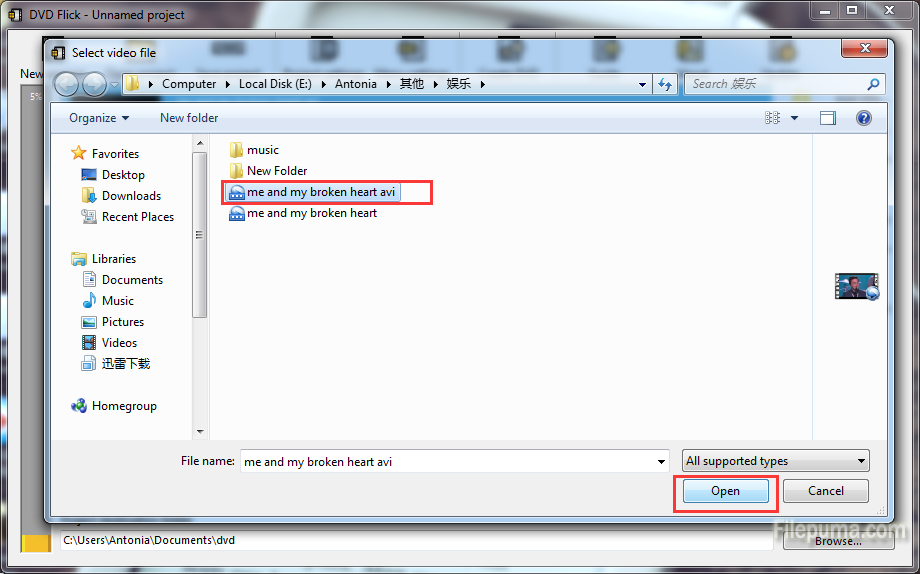
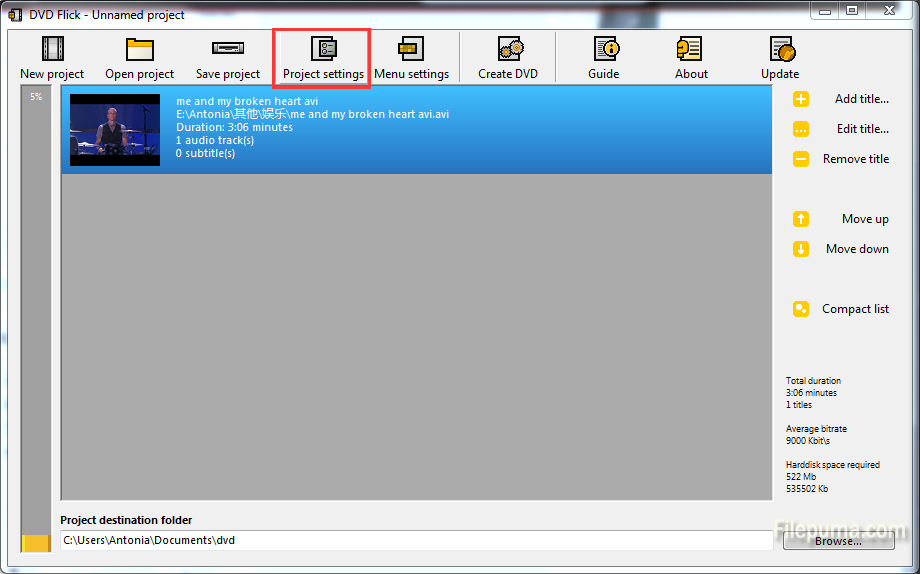
2. Run DVD Flick and click on “Add Title” on the right hand side.
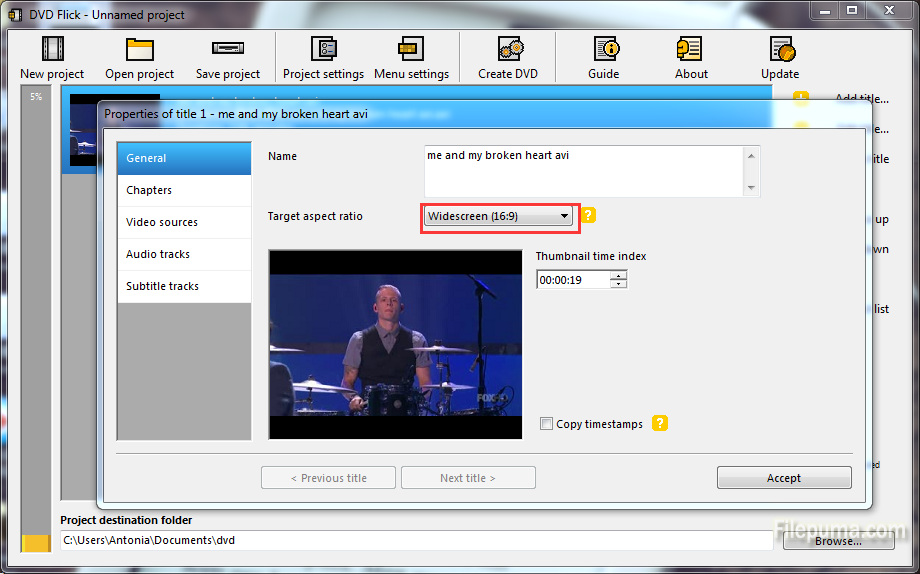
3. Click on “Edit Title” which is just underneath “Add Title”. Make sure Target aspect Ratio says “Widescreen”.

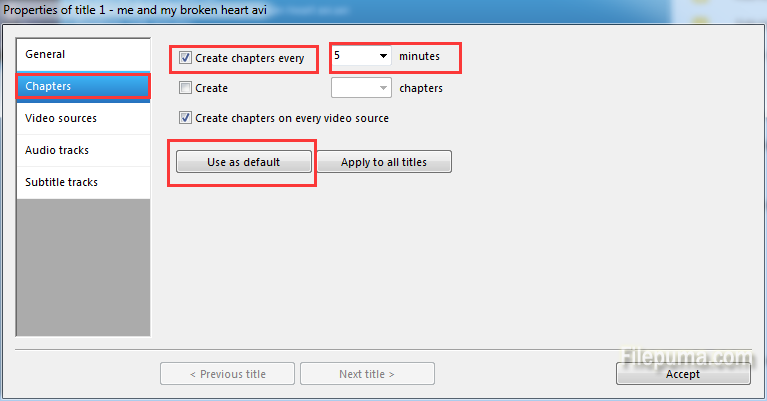
4. Click “Create Chapters Every” of “Chapter” tab, and then select 5 or 10 minutes. And then you could click “use as Default” so that you don’t have to set it every time. Click “Accept” to save the settings.
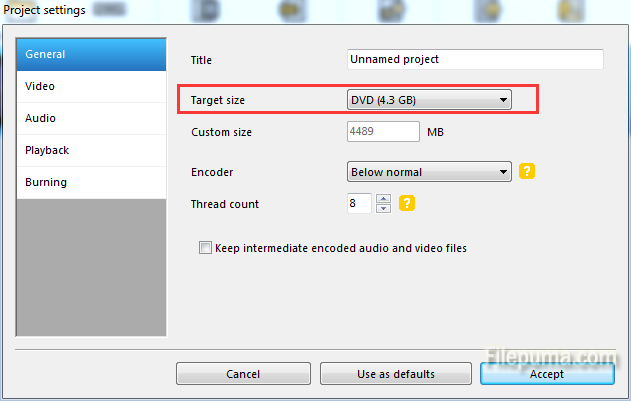
5. Click on “Project Settings”. Choose your target size: DVD[4.3].
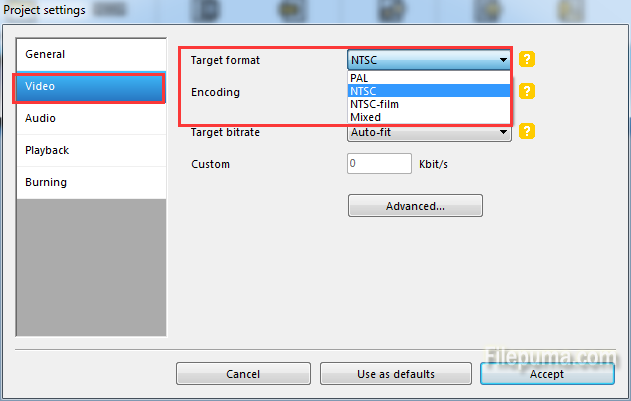
6. Click on “Video” and choose PAL (UK and the rest of the world), or NTSC(America).
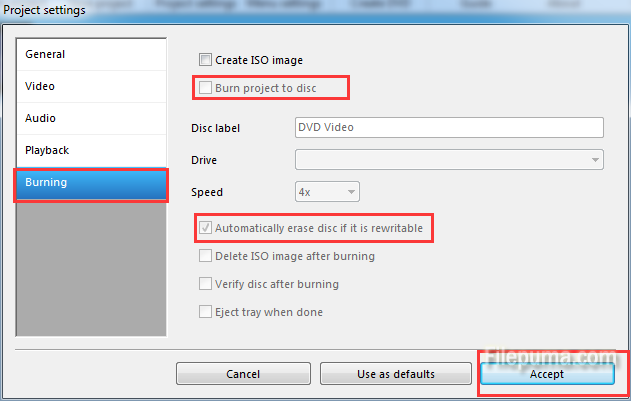
7. Go to “Burning” and click “Burn project to disc” and also “Automatically erase disc if it is rewritable”. Click “Accept” to save the settings.
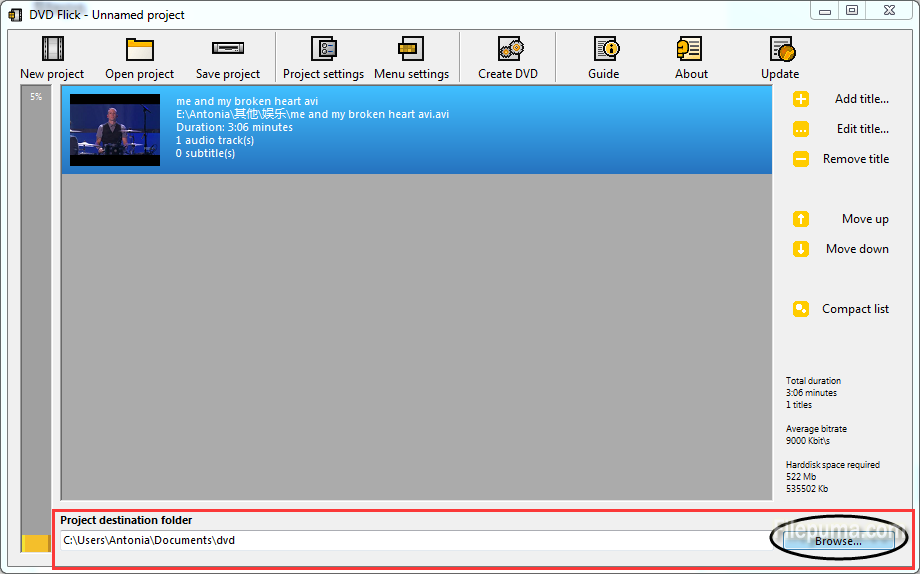
8. Click on “Browse” and choose where you want your files to be saved.
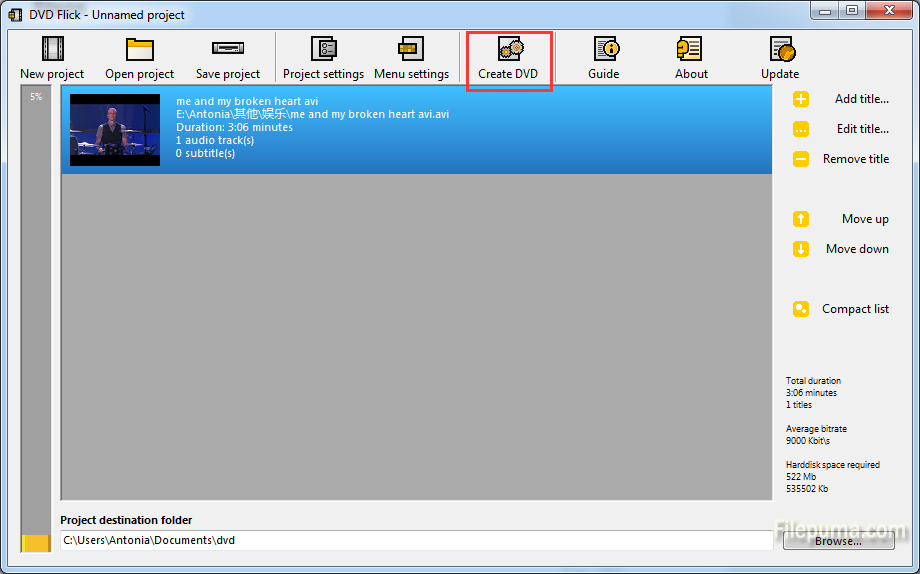
9. After you’ve done these, click on “Create DVD” and it will start.
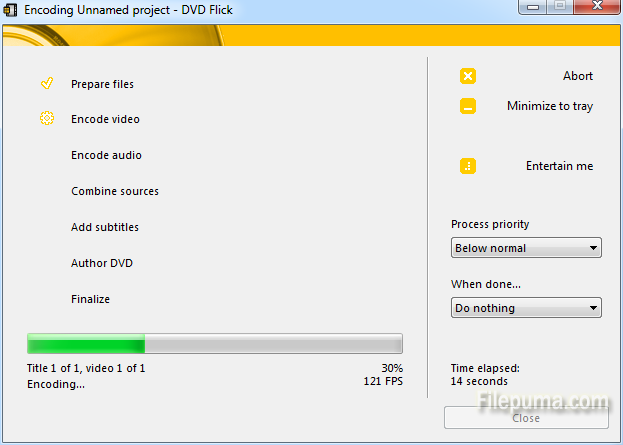
10. It will take a few minutes and after it’s done, you can enjoy your DVD.
Leave a Reply