When you want to have some fun with your digital photos collection by adding some speech bubbles to them, try Microsoft Paint before you turn on more advanced tools for help. There are some new features in Windows 7 painting utility that can help you achieve this effect.
Step One: Go to “Start” button and click “All programs”, select “Accessories” and open “Paint”.

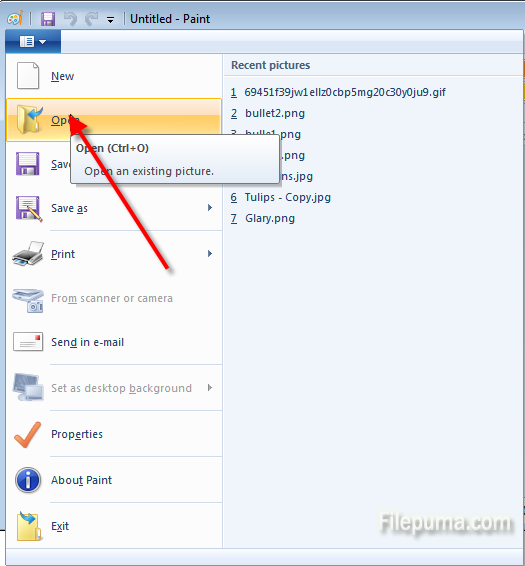
Step Two: Click “Open” at the left top to open the file dialog box. Browse to the picture you want to add a speech bubble to and click “Open.”
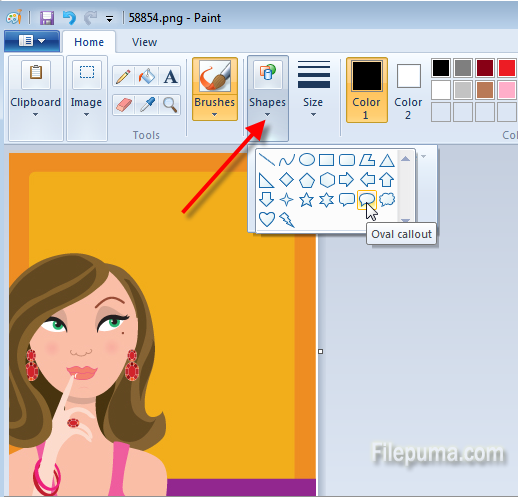
Step Three: Click “Shapes” and choose a speech bubble.
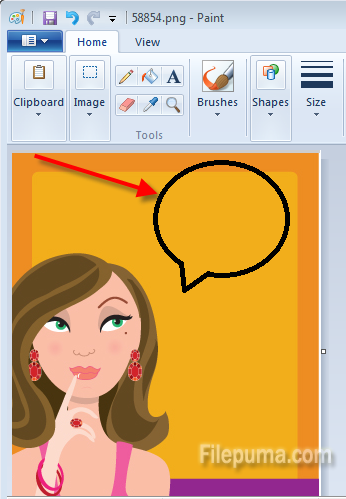
Step Four: Drag the mouse button to form the bubble shape on the image.
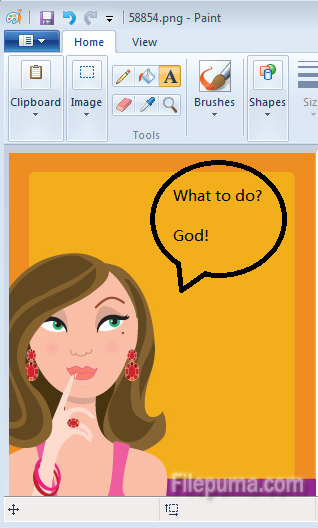
Step Five: Click “A” in the “Tools” group to select the “Test” tool. Edit font size and other settings and type in the speech bubble. In the end, click “Save as” to save the new image.
Leave a Reply