Suppose you’ve been working on for hours, but the file has been corrupted, deleted, or otherwise lost. It can feel like an enormous waste of time and effort. Now, these tips will help you recover your Office documents in no time at all.

Use Document Recovery
Office 2016 comes with built-in features to help you recover your documents in the event that the software closes unexpectedly. This is the simplest method of getting your work back, so attempt this quick and easy procedure to see if it’s successful before you try any more complex methods.
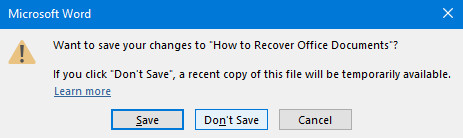
As you can see above, I’ve foolishly clicked Don’t Save while exiting Microsoft Word, and I’ve lost a considerable amount of work on my document as a result. Fortunately, the application will temporarily hold a copy of the file in case of this occurrence.
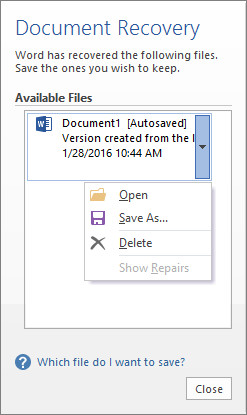
To get it back, fire up Word once again and open a document — an earlier version of the file in question is ideal, but any will do. If you don’t see the document recovery pane as shown above, navigate to File > Manage Document > Recover Unsaved Documents.

You’ll be presented with a window displaying Office’s UnsavedFiles folder. Any documents that the software managed to recover will be present as ASD files — automatic backups used by the Office suite. As you can see, they’re unlabelled, so you’ll have to use the date they were last modified or trial and error to determine whether or not your document was rescued.
Reveal Temporary Files
Documents that have been corrupted or deleted sometimes leave behind temporary versions that contain most, if not all, the content of the original. These temporary files are typically hidden from the user, but it’s easy to uncover them once you know how.
Type File Explorer Options into the search bar and open the corresponding Control Panel result. Switch to the View tab and find the Hidden files and folders radio toggle in the Advanced settings section.
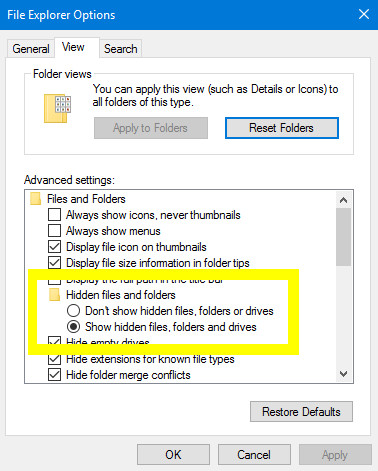
Change this toggle to Show hidden files, folders and drives, as highlighted above. Now, head to the folder where your corrupted or deleted file was saved and look out for file names that begin with a tilde and end with a .tmp extension.
Once you’ve found a file that matches your expectations in terms of file size and date modified, rename it and replace the extension with .docx for versions of Word post 2007 or .doc for earlier iterations. Open it up and see whether it’s the file you were looking for — and don’t forget to go back and change the radio toggle toDon’t show hidden files, folders of drives once you’re done.
Check the Recycle Bin
This may seem obvious, but it’s easy to overlook in a panic. Unless you’ve recently emptied it, your Recycle Bin will contain all files that have recently been deleted. That includes documents you’ve removed manually, as well as temporary files like the ones detailed in the above section of this article, so make sure your File Explorer Options are set to Show hidden files, folders and drives when you check in.
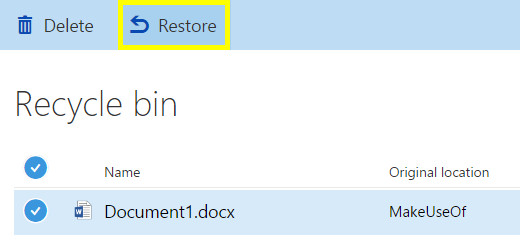
The Recycle Bin can be a real life-saver for users working with Microsoft’s online services like OneDrive and Office 365. If you’re using a personal account, deleted files can be recovered by heading to the Recycle Bin and using the Restorefunction. However, if you’re on an enterprise account, you’ll likely have to speak to an administrator in order to have the files recovered.
With these options enabled, you’re giving yourself the best chance of having a backup of your work.
Leave a Reply