

Remote Desktop can help users to access your computer so that you can manage the computer’s settings, software and troubleshoot issues remotely. Here is the instruction to tell you how to change the display settings on a remote desktop.
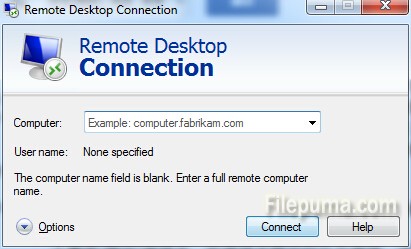
1. Click “Start” and type “remote desktop” in the searching box. Press “Enter” to open the Remote Desktop setting window.
2. Click the “Options” button to extend the folder. Then click the “Display” tab which shows you several options. The options control your user experience to the remote computer.
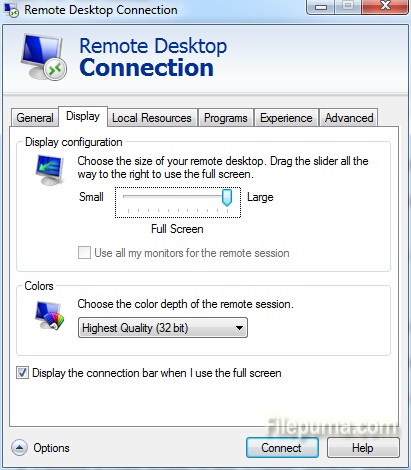
3. Use the slider to choose the size of the display. Slide it right for a larger display, which means the Remote Desktop window is larger when it connects. Slide it all the way to the right to set it at a full-screen display.
4. Choose a color quality in the “Colors” section. Higher-quality color displays take up more resources on the remote computer, and it slows down the connection speed. Choose a lower quality if you have a slow network connection.
5. Click the “General” tab. Type the remote computer’s name and click “Connect.”
good
Great! This is really interesting information for me. Thanks for sharing!
Json Basics Tutorial
* Json Example
* Json Formatter