Category Archives: How To

How to Resize a JPG to 4 X 6 in Photoshop

Sometimes we need to resize the image file to put it into a proper location. It seems to be an easy task which only need enter new dimensions in two fields. However, somes time we should consider about the digital images risk. Because resizing may cause the picture is not resembling its original shape. Here is the instruction to tell you how to resize a JPG to 4 X 6 in Photoshop easily and successfully.

1
1. Start Photoshop and open the JPG file with it.

2. Click the “Image” menu and select “Image Size.”

3. Keep “Constrain Proportions” box at the bottom of the window unchecked.

4. Type “4” and “6” into the “Width” and “Height” boxes. And make sure the drop down menu shows “inches” for each.

5. Click “OK” button to resize the JPG.

6. Once your image gets distorted, click “Edit” and select “Undo Image Size.” Click the “Crop” tool on the “Tools” pane and try to get the image as close to 4 x 6 dimensions — such as 8 x 12, 12 x 18, etc — and then redo the “Image Size” process.

How to Edit DDS Files in Photoshop for FSX

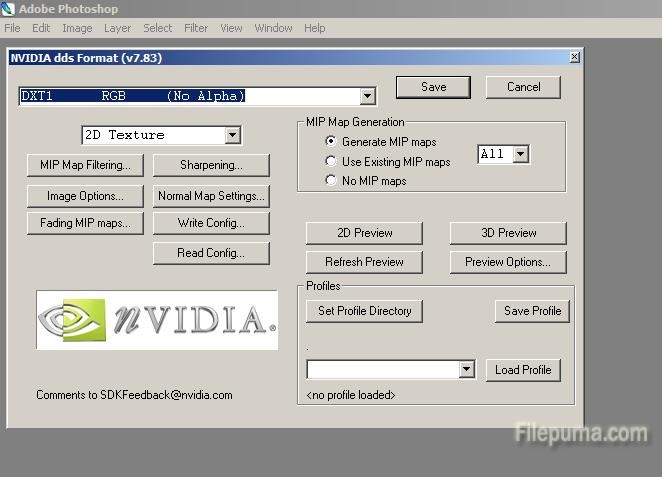
DDS is short for Direct Draw Surface. DDS files are compressed images frequently used in computer and console games, including FSX. If you want to make changes about the DDS files used within a game, you need a program capable of reading and editing DDS files. However Adobe Photoshop does not inherently support DDS. Fortunately you can install a plug-in to read and edit DDS image files.

dds

1. Download Texture Tools plug-in for Adobe Photoshop to your version of Photoshop.

2. Install this program, we need to close Adobe Photoshop. Open the exe fie and click “Next.” Click “Install” and click “Finish” until the DDS plug-in is installed.

3. Start Adobe Photoshop. Click on “File” then “Open.” Select the DDS file you want to edit.

4. Make the changes you want to the file. Click on “File—-Save As.

5. Name the file and select “D3D/DDS” as the file extension, then click “Save.”

How to Disable Slices in Photoshop

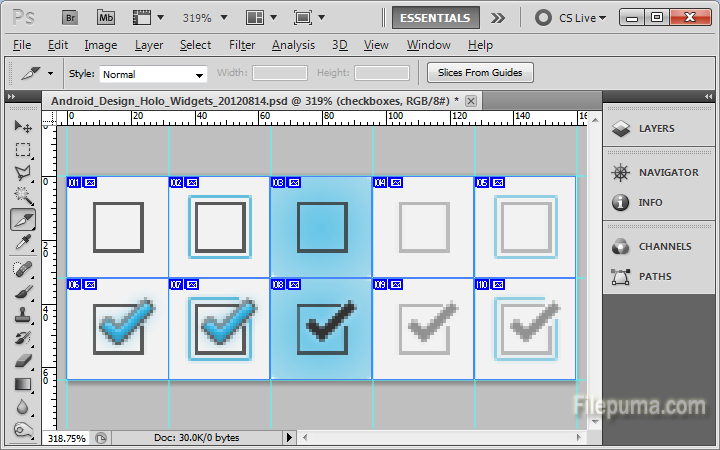
Adobe Photoshop CS5 slices, or Web compatible subsections, are useful for creating websites. However, once you don’t need them anymore, how to disable them? Here is the instruction to tell you how to disable slices in Photoshop.


zkMuS
1. Open the file with that contains slices with Photoshop.

2. Go to “View” and select “Clear Slices” to removes both user and layer-based slices.

3. Click “View—-Show,” and then click “None” to temporarily disable and hide the slices. Note that active guides, grids and text baselines will also be hidden from view.

4. Click “File—-Save As” to rename this file.