Category Archives: How To

How to Recover Lost Videos and Photos from Your Computer?

In today’s digital age, videos and photos hold immense sentimental and professional value. Losing precious memories due to accidental deletion or system crashes can be devastating. However, there is hope for recovering these lost files with the help of data recovery software. Here we provide you a way to recover lost videos and photos to retrieve your happy memories.

We recommend a simple and efficient file recovery tool: Glarysoft File Recovery.

This tool is free, no ads or malware, and it just takes a few simple steps to recover lost and deleted videos and photos. It supports the recovery of almost all file types, including photos, videos, documents, etc. It can not only recover from computers, USB drives, but also from external memory cards (such as camera storage devices). The most important thing is it’s easy to use, even beginners can also operate to complete the recovery.

How to recover lost videos, photos from your computer with Glarysoft File Recovery?

Step1: Download and install Glarysoft File Recovery from here:

https://www.glarysoft.com/file-recovery-free/

Double-click the icon on the desktop to start it on Windows.

Step2: Scan

A: Select the location of the lost data.

Please select a hard disk.

Support scanning FAT, NTFS, NTFS + EFS file systems

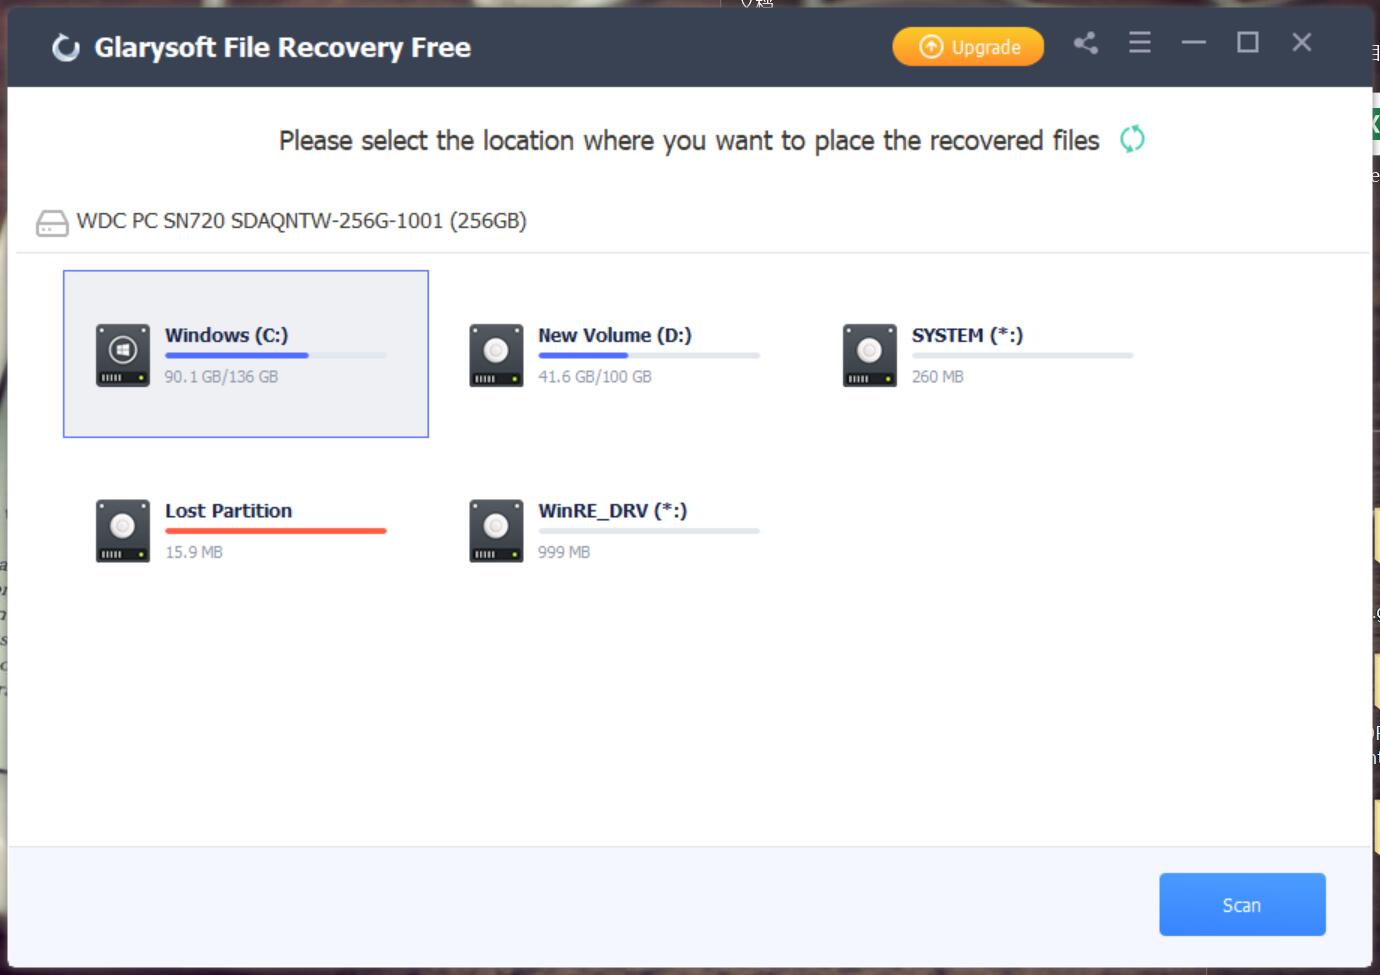
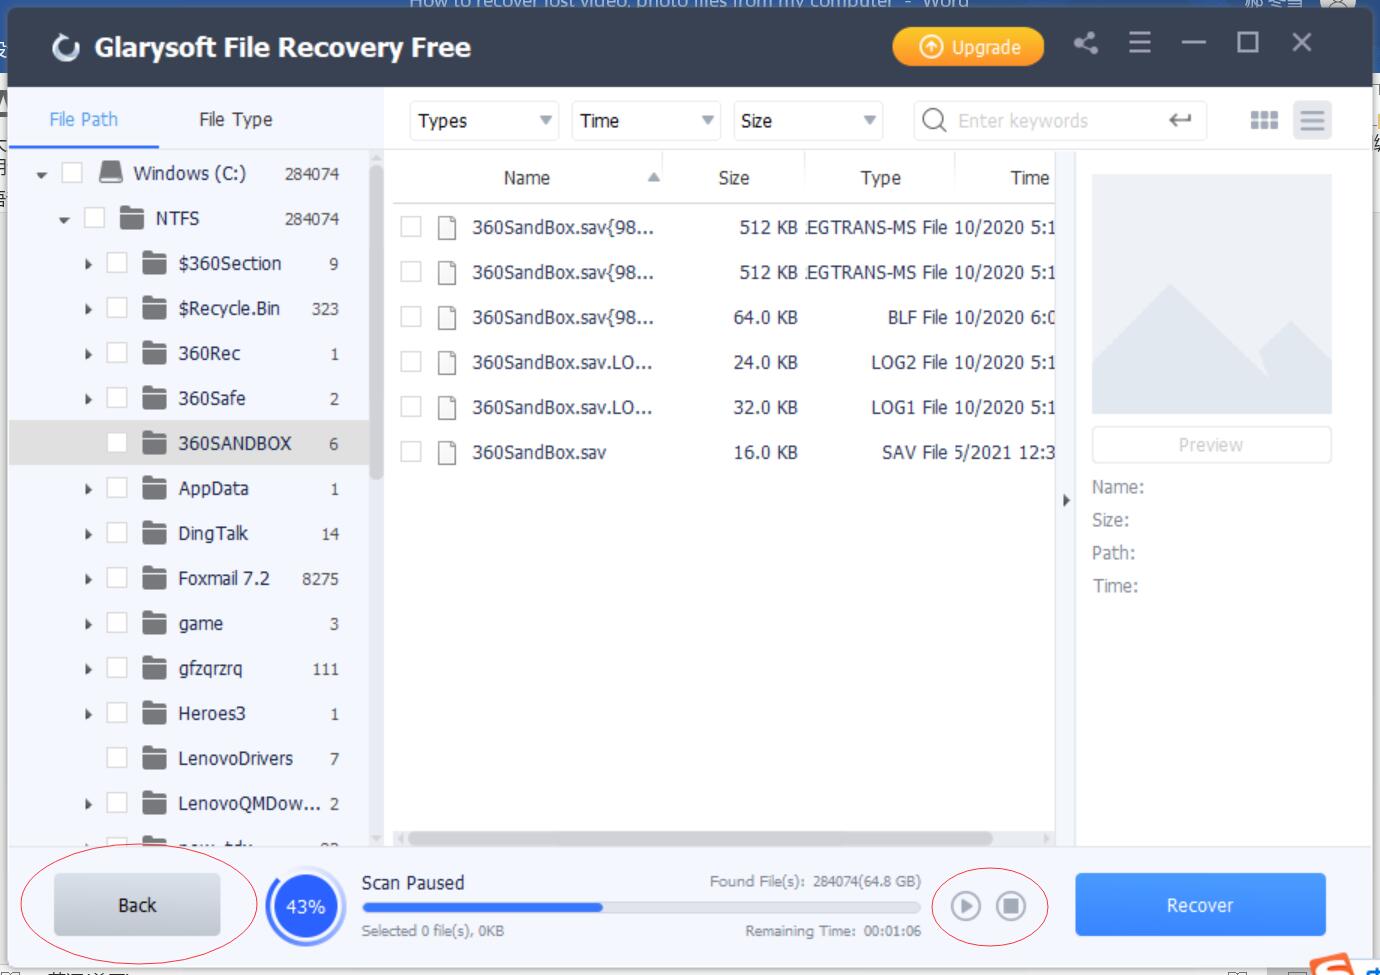
B: Click “Scan”, Glarysoft File Recovery will start a full scan on the selected location. Usually, it takes a few minutes to complete. However, if there are many large files, more time is required.

Of course, during the scanning process, you can pause or stop the operation by clicking the button bottom.

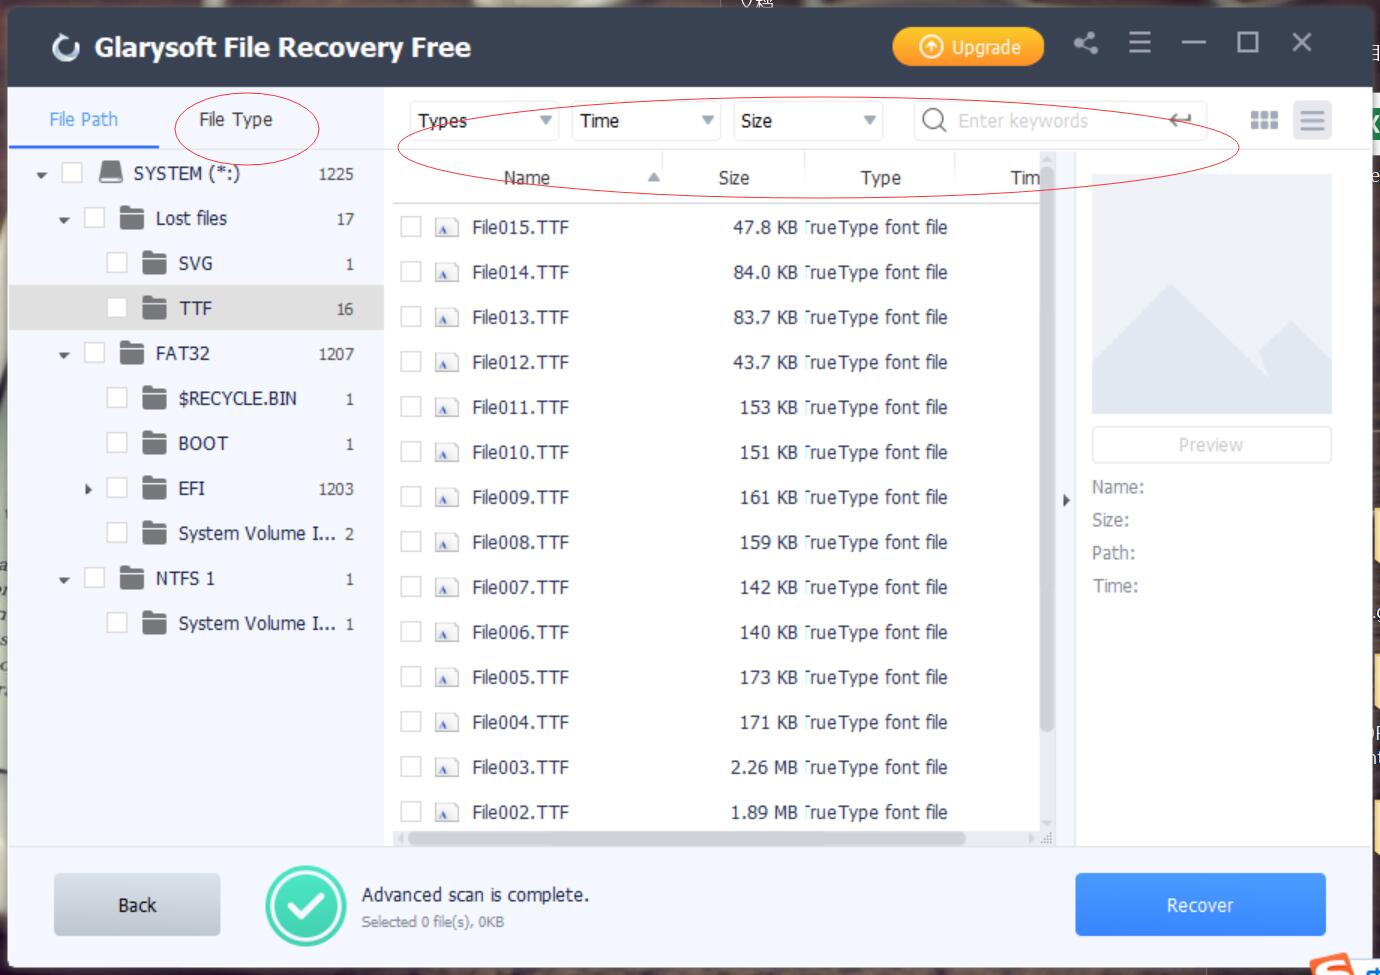
C. After the scan results appear, you can filter files according to Name, Type, Size, Last modified, etc., and locate them precisely to narrow the scope of the results.

You can also locate it further by File Types or Folder on the left panel.

Step3: Preview and Recover

A: Glarysoft File Recovery allows you to preview recoverable files in advance. You can select the target file, and then preview to confirm whether the file is you need.

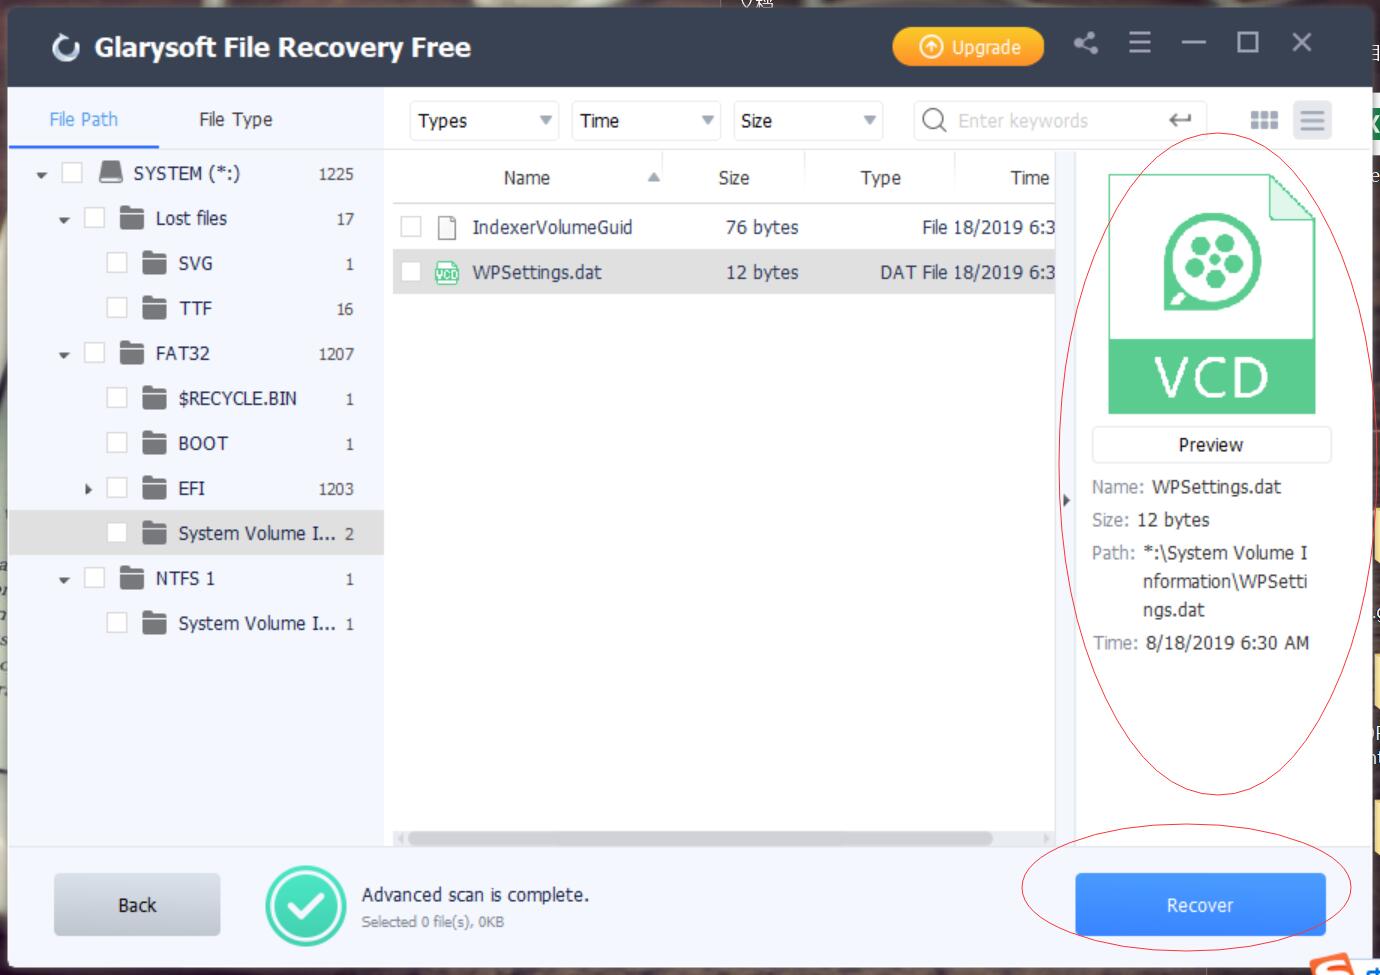
B: After previewing the files and confirming, check the files that need to be restored. Then directly click the “Recover” button to retrieve the lost data, and select the path to save the restored files to complete.

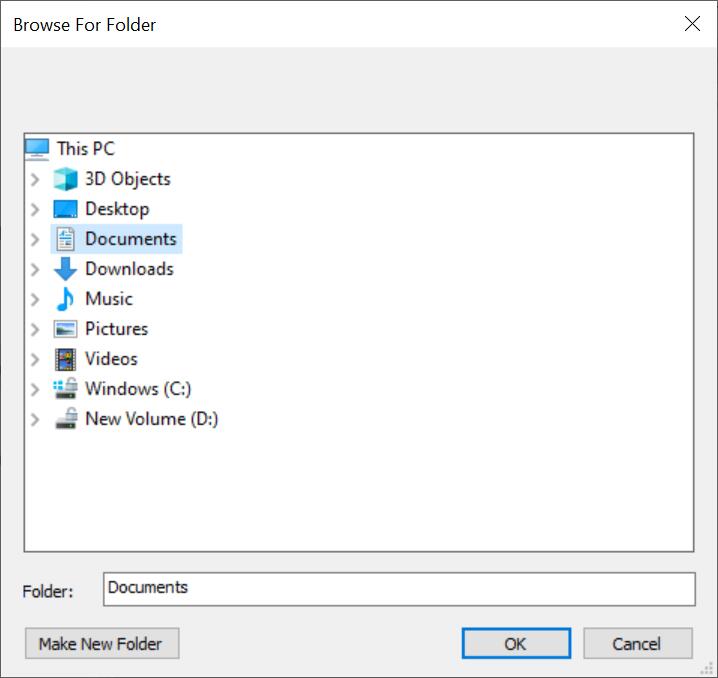
Tips: Please do not save the file to the same location to avoid overwriting the data.

Step4: Recover data from the external device

If your videos and photos are lost from external devices on your Windows computer, such as external hard drives, memory cards, SD cards, digital cameras, drone cameras, USB flash drives, etc., Glarysoft File Recovery can also help you recover them. The different step is that external devices need to be connected to the computer. Make sure it can be recognized or detected. Then follow the above steps for file recovery.

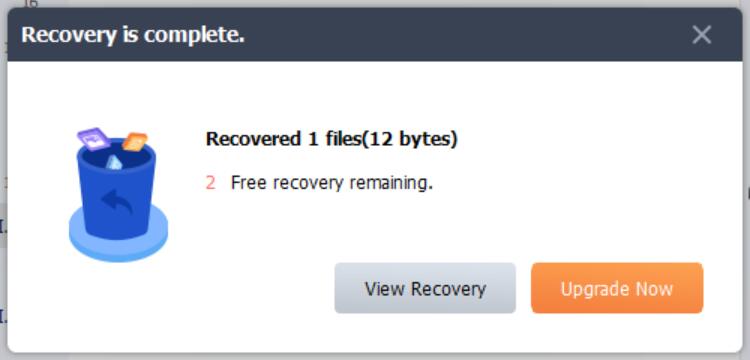
Note: The Free version provides a limit on the number of recovering files. For more recovery needs, upgrade the free version to Pro. The price of Glarysoft File Recovery Pro is reasonable, there are single or annual packages, you can choose the suitable plan according to your needs.

Lost videos and photos from the computer may be a painful experience, but recovery is possible to recover with the correct tools and knowledge. By using recommended software, users can successfully restore their precious memory and professional assets. Keep in mind that prevention is the key, so you always practice good data management habits to minimize the risk of future data loss. Hope this program can help you!

How to Clear Cache and Cookies in Google Chrome?

Clearing cache and cookies in Google Chrome is essential for maintaining a smooth browsing experience and ensuring privacy. Cache and cookies are temporary files that are stored on your computer by websites you visit. While they can enhance browsing speed and improve user experience, they can also accumulate over time and potentially cause issues. In this article, we will provide a step-by-step guide, accompanied by relevant images, on how to clear cache and cookies in Google Chrome.

What is Cache and Cookies?

Before diving into the clearing process, let’s understand what cache and cookies are and why they need to be cleared.

  1. Cache: Cache refers to the temporary storage of web page elements, such as images, scripts, and stylesheets, on your local computer or device. The purpose of caching is to speed up page loading times by storing frequently accessed data. However, over time, the cache can become bloated and cause performance issues.
  2. Cookies: Cookies are small text files that websites store on your computer to remember your preferences and login information. While cookies can enhance user experience, they also raise privacy concerns as they track your online activities and may contain sensitive information.

Follow these steps to clear the cache in Google Chrome:

  1. Open Google Chrome: Launch the Google Chrome browser by clicking on its icon on your desktop or selecting it from the Start menu.
  2. Access Chrome Settings: Click on the three-dot menu icon located in the top-right corner of the browser window. From the dropdown menu, select “Settings.”
  3. Clear Browsing Data: Scroll down the Settings page and click on the “Privacy and security” tab. Then, click on “Clear browsing data.”
  4. Choose Time Range and Data Types: In the Clear browsing data window, select the time range for which you want to clear the cache. If you want to clear the entire cache, select “All time.” Additionally, choose the types of data you wish to delete, including “Cached images and files.”
  5. Clear Data: Click on the “Clear data” button to start the clearing process. Chrome will remove the selected data from your cache, resulting in a cleaner browsing experience.

Clearing Cookies in Google Chrome:

  1. Open Chrome Settings: Launch Google Chrome and access the Settings menu by clicking on the three-dot icon in the top-right corner of the browser window. Choose “Settings” from the dropdown menu.
  2. Manage Cookies: In the Settings page, scroll down and click on “Privacy and security.” Then, select “Cookies and other site data.”
  3. Clear Cookies: To clear all cookies, click on the “See all cookies and site data” option. You can also selectively remove cookies by searching for specific websites or using the “Remove All” button to delete all cookies.
  4. Confirm Clearing: After selecting the desired cookies, click on the “Remove” button to delete them. Confirm the action if prompted.

Benefits of Clearing Cache and Cookies:

  1. Improved Performance: Clearing cache frees up storage space and allows Chrome to load web pages faster. It removes outdated and unnecessary files, optimizing browser performance.
  2. Enhanced Privacy: Deleting cookies helps protect your privacy by erasing stored login information and preventing websites from tracking your online activities.
  3. Troubleshooting: Clearing cache and cookies can help resolve issues like website errors, broken images, or outdated content. Removing cached data ensures that you load the most recent version of a web page.

Regularly clearing cache and cookies in Google Chrome is vital to ensure a smooth browsing experience and protect your privacy. The accumulation of cache files and cookies can lead to sluggish browser performance and potential security risks. By following the step-by-step guide provided in this article, you can easily clear cache and cookies in Google Chrome, allowing for faster browsing speeds and safeguarding your personal information.

How to Recover Deleted or Unsaved Office Documents?

mwKTS9595773746faa369293155133

In today’s digital era, office documents play a crucial role in our personal and professional lives. However, accidental deletion or unsaved work can lead to frustration and panic. Fortunately, there are various methods and tools available to recover deleted or unsaved office documents. This review aims to explore effective strategies to retrieve lost files in popular office software applications.

Enable AutoRecover and AutoSave features:

One of the easiest ways to prevent data loss is by enabling the AutoRecover and AutoSave features in office applications such as Microsoft Word, Excel, and PowerPoint. These features automatically save your work at regular intervals, ensuring that even if your document is unexpectedly closed or crashes, you can recover the most recent version.

1. Utilize the Recycle Bin or Trash folder:
When you delete a file in Windows or macOS, it is often sent to the Recycle Bin or Trash folder, respectively. If you accidentally delete an office document, the first step is to check these locations. You can easily restore the file to its original location by right-clicking and selecting the “Restore” option.

2. Use the “Previous Versions” feature:
Windows operating systems provide a “Previous Versions” feature that allows you to restore earlier versions of files. To access this feature, right-click on the folder containing the deleted document, select “Properties,” and navigate to the “Previous Versions” tab. From there, you can restore a previous version of the file if available.

3. Try data recovery software:
In cases where the file is permanently deleted or not found in the Recycle Bin/Trash, data recovery software can be a lifesaver. Numerous third-party applications, such as Recuva, EaseUS Data Recovery Wizard, and Disk Drill Data Recovery, specialize in recovering deleted files. These tools scan your storage devices for traces of the deleted file and attempt to restore them.

4. Cloud storage and backup solutions:
If you regularly save your office documents to cloud storage platforms like Google Drive, Dropbox, or OneDrive, you have a higher chance of recovering deleted or unsaved files. Most cloud storage services have built-in file versioning and recovery options, allowing you to restore previous versions of documents. Additionally, having a backup strategy, either through cloud or local storage, is an excellent practice to prevent permanent data loss.

5. Consult IT support or professional data recovery services:
If you are unable to recover your deleted or unsaved office documents using the above methods, it might be time to seek assistance from IT support or professional data recovery services. These experts possess specialized tools and knowledge to recover files from various storage devices, including hard drives, SSDs, and memory cards. They can provide tailored solutions based on your specific situation.

Losing important office documents can cause significant distress, but with the right approach, recovery is often possible. By utilizing the native tools, checking Recycle Bin/Trash folders, or employing file recovery software, users can increase their chances of retrieving deleted or unsaved files. However, prevention is always better than cure, and implementing a reliable backup strategy should be a priority to avoid such situations altogether. Remember to act promptly, exercise caution, and seek professional help when needed.

It can be pretty frustrating to lose your Word file when you’ve spent so much time working on it. While there are several available methods to help recover your lost or deleted files, it might be a good idea to follow a few practices that can help prevent data loss. Let’s go through some of these tips and tricks:

✅ Regularly save your work – It’s important to develop a habit of saving your Word files frequently. By doing so, you minimize the risk of losing significant amounts of work if an unexpected event occurs. Use the “Save” or “Save As” options to save your progress regularly.

? Organize your files – Maintaining a well-organized file structure can help you locate and retrieve your Word files easily. Create separate folders for different projects or categories, and name your files appropriately. This way, you’ll have a better overview of your documents and reduce the chances of accidentally deleting or misplacing them.

? Protect your files with passwords – If your Word documents contain sensitive or confidential information, consider adding password protection to them. This ensures that unauthorized individuals cannot access or modify your files without the correct password.

? Use reliable antivirus software – Malware and viruses can corrupt or delete your Word files. To prevent this, use reputable antivirus software and keep it up to date. Regularly scan your system for malware and take necessary actions to remove any threats.

? Enable version history – Many cloud storage solutions, such as Google Drive or Microsoft OneDrive, offer version history functionality. Enable this feature for your Word files stored in the cloud to track changes and revert to previous versions if needed.

? Set up regular system backups – In addition to backing up your Word files, it’s crucial to have a comprehensive backup strategy for your entire system. Create regular backups of your computer’s data, including your Word files, using reliable backup software or built-in backup features provided by your operating system.

? Be cautious when opening email attachments – Emails can sometimes contain malicious attachments that can infect your system or delete files. Exercise caution when opening email attachments, especially from unknown or suspicious sources. Scan attachments with antivirus software before opening them.

By following these practices, you can minimize the risk of losing your Word files and ensure that your hard work is protected.