How to Disable Slices in Photoshop

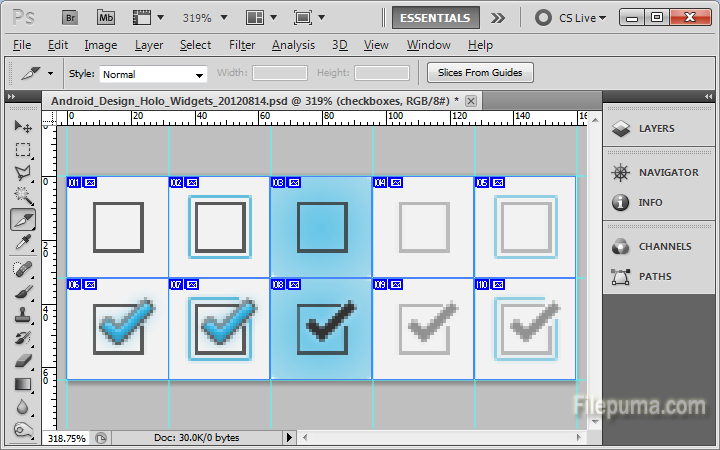
Adobe Photoshop CS5 slices, or Web compatible subsections, are useful for creating websites. However, once you don’t need them anymore, how to disable them? Here is the instruction to tell you how to disable slices in Photoshop.
 

zkMuS
1. Open the file with that contains slices with Photoshop.

2. Go to “View” and select “Clear Slices” to removes both user and layer-based slices.

3. Click “View—-Show,” and then click “None” to temporarily disable and hide the slices. Note that active guides, grids and text baselines will also be hidden from view.

4. Click “File—-Save As” to rename this file.

How to Merge Two Backgrounds in Adobe CS6

Adobe Creative Suite (CS) was a series of software suites of graphic design, video editing, and web development applications made or acquired by Adobe Systems. If your background is comprised of two layers and you don’t want to apply the same transformation or filter twice, you need to merge the two backgrounds. Here is the instruction to tell you how to merge two backgrounds in Adobe CS6.


photoshop-cs6-jjc
1. Open the image with Photoshop and press “F7” to open the Layers palette.

2. Create a new transparent layer by holding “Shift-Ctrl-N”. Place the merged background into this new layer.

3. Click the eye icon in front of it in the Layers palette to make all layers except the new layer and the two background layers invisible.

4. Right-click the new layer and find the “Merge Visible” option. Hold “Alt” and immediately click “Merge Visible”. To do this is to to merge the two background layers and place them into the new layer.

5. Click the eye icon in front of the two background layers, then unhide the rest of the layers.

How to Make a 3D Effect in PowerPoint

Microsoft PowerPoint is a slide show presentation program developed by Microsoft. It was a part of the Microsoft Office suite. Adding a 3D effect to a PowerPoint slide creates an eye-catching presentation. Here is the instruction to tell you how to make a 3D PowerPoint.

lt_businessgrowing_co_13_powerpoint_templates_title_slide

1. Open PowerPoint Program.

2. Click on the “Insert Tab” and choose “Table” from the Tables section. Select “Insert Table” to create a table.

3. Select a cell and enter data into your table. 

4. Click on the “Insert” tab and choose “Shapes”. Drag this rectangle over the table, so it covers the entire thing. Click on “Drawing Tools Format.”

5. Go to section “Shape Styles” and click on “Shape Effects”.

6. Put your mouse cursor on “3D Rotation”, choose options to make 3D effect looks as what you want. 

7. Go to “Shape style” section and select “Dialogue Box Launcher”. Choose the “3D Format” option

8. Select “Color” under Contour in the Depth section. Pick the color.

9. Click on “Lighting” in the Depth section and choose one of them.

10. In ” Drawing Tools Format—–Arrange” section, click”Send Backward” option.

11. Now the 3D effect is finished.