

A powerful multimedia technology with a built-in media player, QuickTime lets you view Internet video, HD movie trailers, and personal media in a wide range of file formats. And it lets you enjoy them in remarkably high quality. QuickTime’s default settings is to start with Windows, but some users don’t want this function, so they just remove it from the Startup menu. However, this is not enough for QuickTime, we need to do further. Here is the instruction.
1. Go to the “Start” menu, “All Programs” and “Startup.” right-click on QuickTime icon and delete it.

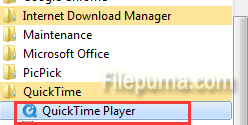
2. Go to “Start”—-“All Programs”—-“QuickTime.” Run “QuickTime Player” by clicking the icon.
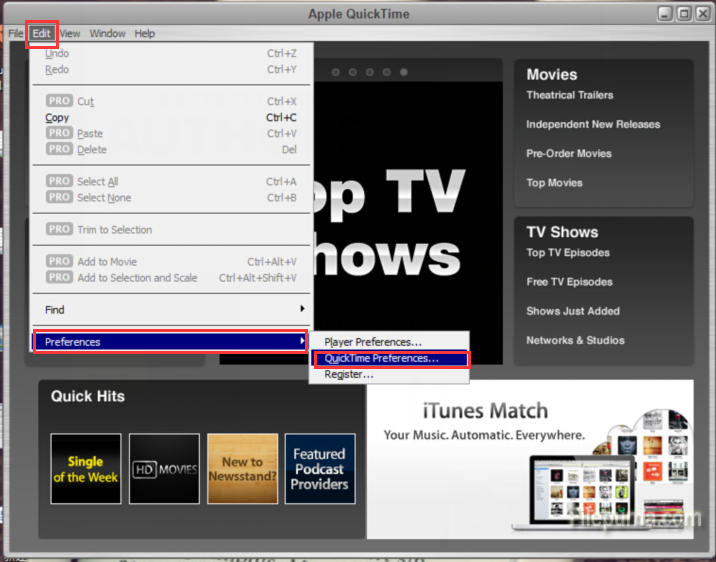
3. Along the top of the QuickTime player, find and click “Edit”—- “Preferences”—-“QuickTime Preferences.” This will open a QuickTime Preferences window.
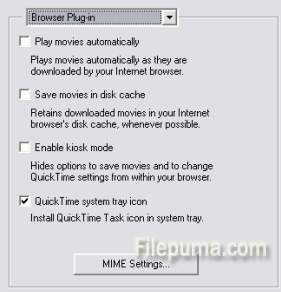
4. Choose “Browser Plug-In” from the drop down menu at the top. Deselect “QuickTime system tray icon” by clicking on it to remove the check mark.
5. Click on the red “X” in the upper right hand corner to save your selection. Now you’ve removed QuickTime from Startup.