

GIMP is an acronym for GNU Image Manipulation Program. It is a freely distributed program for such tasks as photo retouching, image composition and image authoring. Once you want to experiment with different fonts and sizes for an image’s text elements, you can modify an image’s elements independently of one another with layers in this program. By default, new layers that you create in GIMP are transparent, but you can configure the program to create a layer in any color that you desire. Here is the instruction to tell you how to change the color of a new layer in GIMP.
1. Download and install GIMP from here:
http://www.filepuma.com/download/gimp_2.8.14-6633/
2. Run the program and open the image that you want to modify.
3. Click the “Foreground Color” box in the Toolbox dialog. Click the color that you want to use for the new layer. And then click “OK” to set the new color.
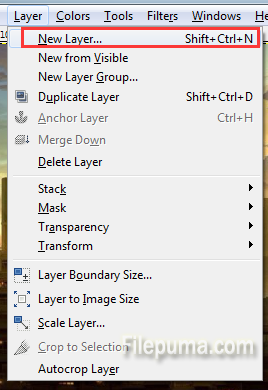
4. Open the “Layer” menu and click “New Layer.”
5. Check “Foreground Color” and then click “OK” to create a new layer in the color that you previously selected.
