

GIMP is an acronym for GNU Image Manipulation Program. It is a freely distributed program for such tasks as photo retouching, image composition and image authoring. With GIMP, you could clean up extra lines and to sharpen the darker lines in the picture use the “Brightness-Contrast” tool. Here is the instruction to tell you how to clean up scanned drawings in GIMP.
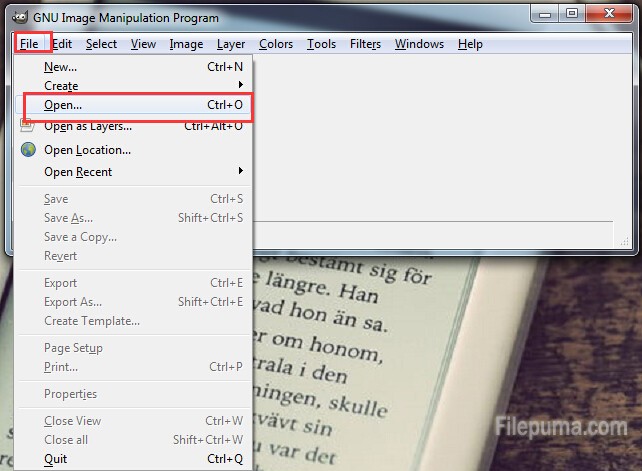
1. Start GIMP and click “File—-Open” to browse your computer for the scanned drawing file.
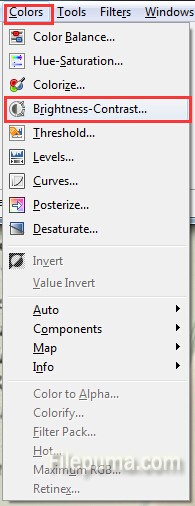
2. Open the files. Go to “Colors—-Brightness-Contrast” in the menu to open a new window.
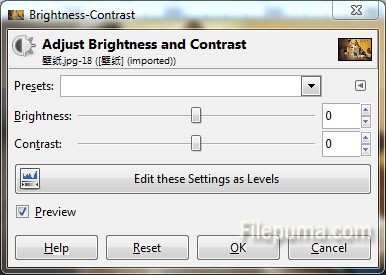
3. Drag the “Contrast” slider toward the right-hand side and move the “Brightness” slider to the left to make sketchy or light lines vanish. Click “OK” to save the new settings.
4. Use the “Eraser” to erase extra lines that you want to erase.
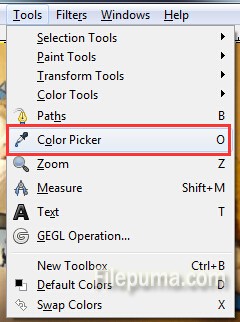
5. Click the “Color Picker Tool” to select the color used to draw the lines in your image.
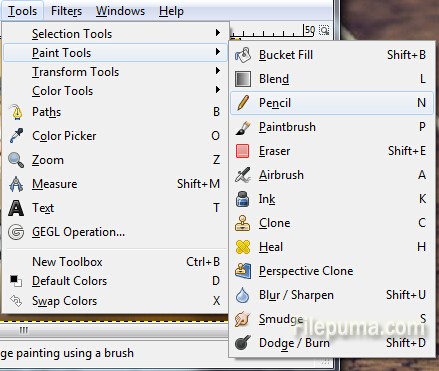
6. Use the “Pencil” tool to fix any of the linework.
7. Save the changesyou’ve made.
Thats a great tip! thanks for sharing. Very helpful not just for the beginners.
I was drawing on GIMP, using the XP-Pen ( https://www.xp-pen.com ) Drawing tablet.
GIMP is very difficult to learn if you do not use it every day. Sooooo many tools and options!!!