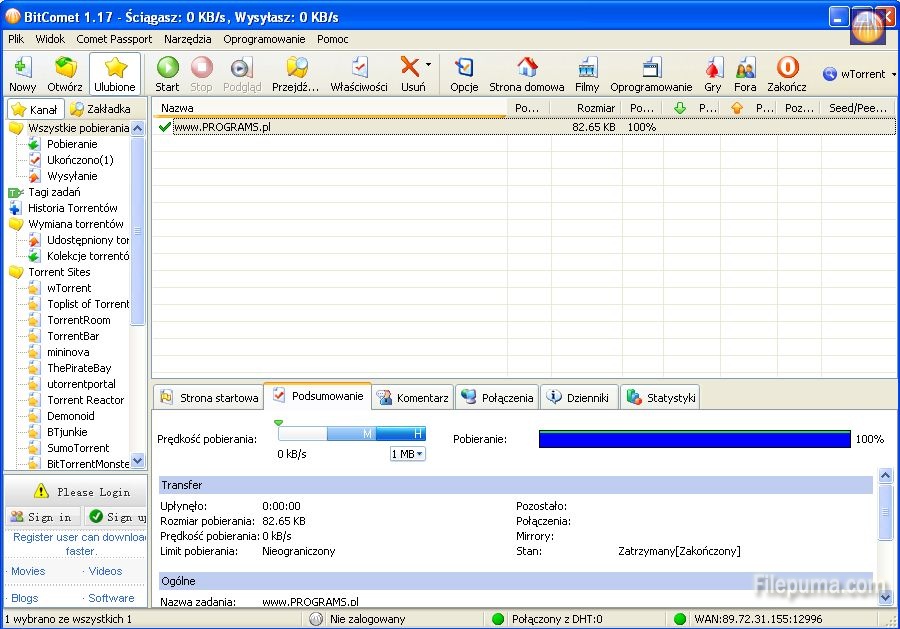
BitComet is a BitTorrent/HTTP/FTP download management software, which is powerful, fast, very easy-to-use, and completely FREE. The advanced features it contains can accelerate your downloading speed up to 5 – 10 times faster, or even more. However, the download speed can be very slow if your Bitcomet listen port is blocked. Here is the instruction to tell you how to open a listen port BitComet by turn the yellow circle to green.

Log in to Your Router & Set up a Static IP Address
1. Open the Internet address of your router with your browser. You can find this on the back of your router.
2. After it prompted, enter your username and password from the back of router.
3. Look for “Domain Name Server” and note the two sets of numbers next to this.
4. Go to “Start—- Control Panel—-Network and Internet Connections”, right click on Internet connection and go to “Properties—-Internet Protocol—-Properties ”
5. Click on the “Use the Following IP Address” radio button.
6. Enter “192.168.0.X” into the “IP Address” box, replacing “X” with a number except 1.
7.Enter “255.255.255.0” into the “Subnet Mask” box and “192.168.0.1” into the “Default Gateway” box.
8. Enter the two sets of numbers you’ve just noted down. Select “OK.”
Find and open the Listen Port
1. Open Bitcomet, go to”Tools—-Options.” Note down the number in the “Listen Port” box.
2. Keep “Enable UPNP Port Mapping” unchecked.
3. Click OK and quit this program.
4. Click on “Services—- Add Custom Service.”
5. Set the “Type” option to “TCP/UDP” and name it.
6. Enter the number you just noted down from Bitcomet into both the “Start Port” box and the “Finish Port” box. Select “Apply.”
7. Click on “Firewall Rules”, click on “Add” in the “Outbound Services”. Choose the “Service” you created..
8. Set the “Action” option to “Allow Always” and the “LAN Users” option to “Single Address.”
9. Enter the IP address you created into the box provided. Set the “WAN Users” to “Any” and select “Apply.”
10. Click “Add” in the “Inbound Services” section. Then repeat the last two steps.
11. Click on the “Apply” button, then choose “Log Out.”


