How to Share Your Desktop Screen With Adobe Connect Pro

Adobe Connect is software used to create information and general presentations, online training materials, web conferencing, learning modules, and user desktop sharing. The product is entirely Adobe Flash based. Its “Share My Screen” let users to share your desktop screen and selected files with other users using remote access controls. Here is the instruction to tell you how to use a desktop remote control with Adobe Connect Pro.
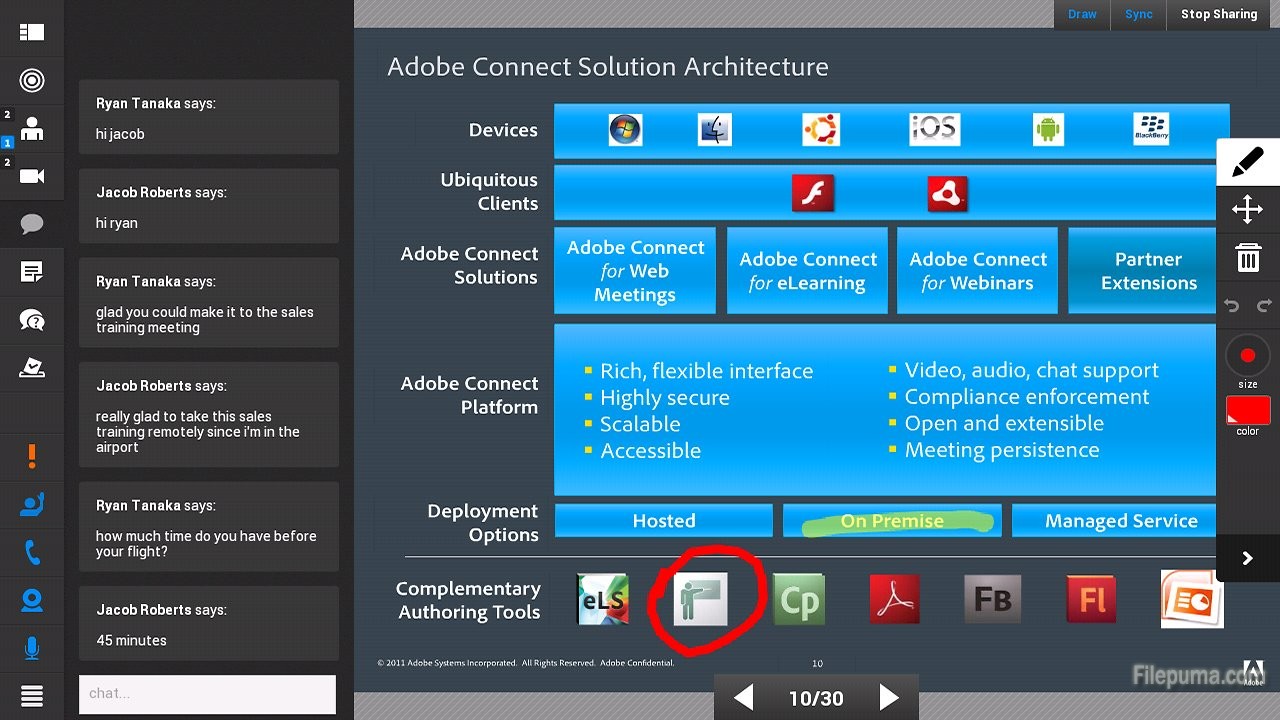
adobe-connect-10105e-h900
1. Go to Adobe Connect Pro website and login in with your Adobe ID and password.

2. Click the “Meetings” tab on the top, and select a meeting room to use for remote access.

3. Click the “Share My Screen” drop-down menu.

4. If you want to enable remote access to your desktop screen, click on “Share My Screen”.

5. Choose “Share Document” to enable remote access to specific documents on your host computer.

6. Click on “Browse My Computer” and select the file and hit “Open.” Now you’ve successfully shared your documents.

How to Make Movies With QuickTime

A powerful multimedia technology with a built-in media player, QuickTime lets you view Internet video, HD movie trailers, and personal media in a wide range of file formats. And it lets you enjoy them in remarkably high quality. Here is the instruction to tell you how to make movies with QuickTime.
 

QuickTime
1. Download and install Quick Time from here:

http://www.filepuma.com/download/quicktime_player_7.76.80.95-7236/

2. Click on “File” then “Export” on main menu.

3. Choose the picture, album or other material you want to put into the movie.

4. After you choose the “Individual Photos”, or an “Album” – at the top you will see “Export Photos”, and then select the “QuickTime” button. Or if you hose “Slideshow” – Name your movie, Save it to a file that is easily accessible, Determine the size, then click “Export.”

5. Proceed to the following steps:

Enhance your movie by changing a few options and adding a personal touch. Like the dimensions ,image quality. Select a background color for your movie by clicking the “Color” button. Preview your color by clicking the “Preview” option.

6. You could also add music by following this: 1) Select the music want to use by clicking “Open File”. Click on “Edit” menu, choose “Select All.” Next, from the “Edit” menu, select “Copy”. From the “Edit” menu, choose “Add to Movie” From the “File” menu click “Save As”

7. Click “Export”

8. Name for your movie and choose where you want to save it.

9. Click “Save” to save your movie

How to Zip Files With Folder Structure in WinZip

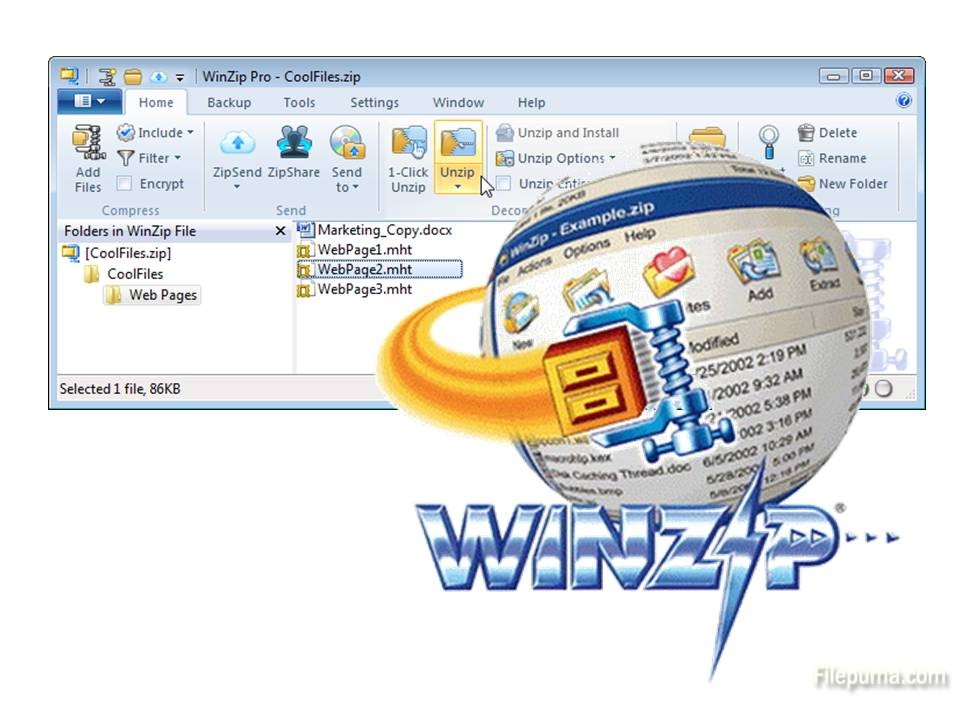
Combining proven compression and encryption tools with new productivity features and a redesigned interface, WinZip  is the worry-free way to share, anywhere. Easily send large files and folders by email. Find the tools you need instantly in the new, intuitive interface. Accelerated performance makes this version the fastest WinZip yet. And sometimes we want to zip files and retain the original folder structure in the file archive. ere is instruction for you to zip files with folder structure in WinZip.

winzip-16-5
1. Download and install WinZip from here(choose the right version suit for your computer):

http://www.filepuma.com/search/winzip/#gsc.tab=0&gsc.ie=UTF8&gsc.sort=&gsc.q=winzip

2. Run the application.

3. Right-click on the top-level folder in the left pane and click “Add to Archive.” The WinZip application will open.

4. Name it and click “OK.”

5. Right-click on the second-level folder and click “Add to Archive.”

6. Select the ZIP file created using the top-level folder. Click “OK.” The file structure in the second-level folder will be retained.