How to Enable the Remote Desktop on Windows NT 4.0

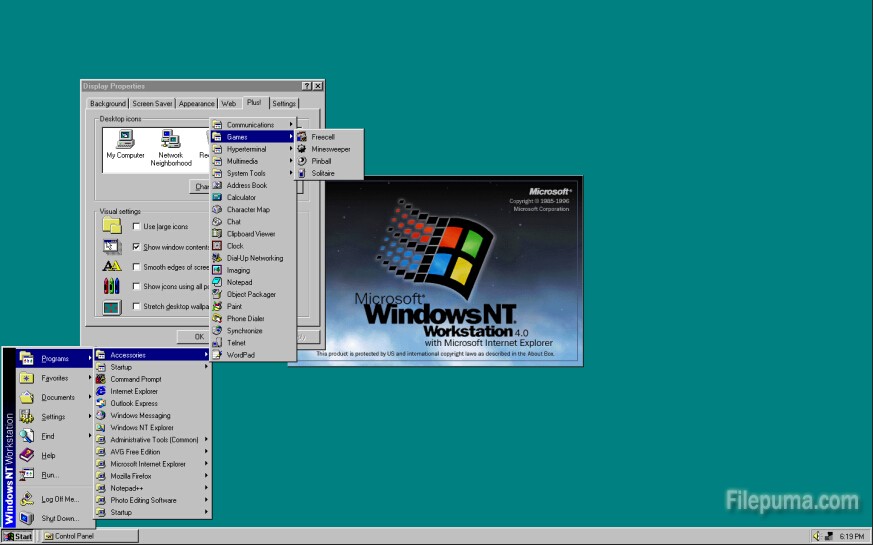
Windows NT 4.0 is a preemptive graphical operating system, designed to work with either uniprocessor or symmetric multi-processor computers. It was part of Microsoft’s Windows NT line of operating systemsand. Here is the instruction to tell you how to enable the remote desktop on it. Because remote desktop allows you to access the desktop of a computer that is running Windows from a remote computer, which means that you can use remote desktop to visit your home PC when you are at work.
QQ截图20150710163852


1. Open your PC, right click on “My Computer” icon, and then select “Properties” from the drop-down menu. Then you will open the system window.

2. Click the “Remote” tab and the “Allow users to connect remotely to this computer” check box under the Remote Desktop section.

3. Click the “Apply” button and the “OK” button to save the changes.

4. Exit the dialog box.

How to Convert PDF to Shapefile

A shapefile is a file format that contains geospatial vector data used by geographic information systems software. We could convert PDF to this kind format for convenience. However, we need to convert the PDF file to a DXF file first. Here is the instruction to tell you how to convert PDF to Shapefile.

adobe-pdf-icon
1. Go to aidecad.com download the Aide PDF to DXF Converter setup file. Install it and run it.

2. Go to “File” and click on “Add PDF File.” Browse the PDF file you want to convert and open it.

3. Go to “Set Output Folder and Options” section and click on “…” . Find a suitable location to  save the new DXF file. Click on “Convert” to start convert your file to a DXF file.

4. Start the AutoCAD.

5. Click on “File—-Open” to open a file. Browse and open the DXF file you just saved.

6. Go to “File” and click on “Save As”. Name the new file and save it to a suitable location.

7. Select “Shape File” from the Format drop-down box. Click “Save” button to convert the DXF file to a shapefile.

8. You’ve successfully convert your Y PDF file to a shapefile.

How to Merge PPT. Slides Into Word Document

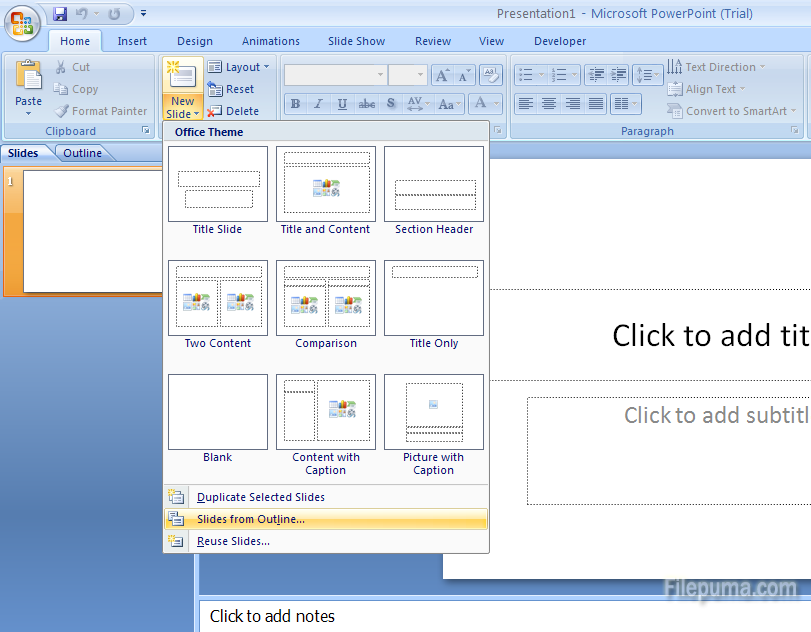
Merge PowerPoint slides into Word will bring a very good vision effect. It makes everything more vivid and detailed to your audience. So here is the instruction to tell you how to merge PowerPoint slides into Microsoft Word.

Create_Slides_From_Word_Outline_And_Insert_Them_Into_Existing_Powerpoint_Presentation___ClickSlides
1. Run Microsoft Word, and open the document you want to merge with PowerPoint.

2. Start PowerPoint and open the ppt. file you want to merge with Word.

3. Go to “PowerPoint—- View—- Presentation Views”, click on “Slide Sorter”.

4. Click on the slide that you want to merge with Word. Hold “Ctrl” and “C” button on your keyboard at the same time to copy them.

5. Go to Word program. Click on the area where you want your PowerPoint slides to appear. “Ctrl” and “V” to paste them.

6. Click on “Paste Special” in the drop-down menu. Click “As—- Microsoft Office PowerPoint Object”

7. Click on the circle beside “Paste” in the pop-up window to embed the PowerPoint slides you selected, or click on the circle beside “Paste Link” to insert a link to the PowerPoint slides you selected. Click the “OK” button to complete the operating.