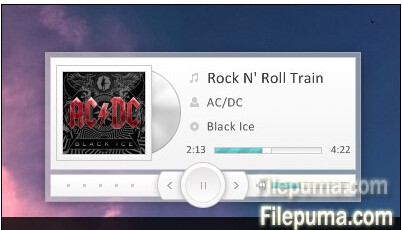
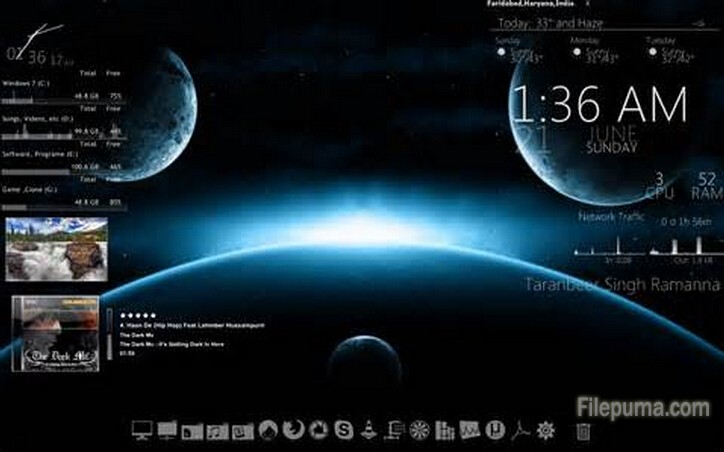
Rainmeter is a desktop customization tool which can display customizable skins, like memory and battery power, RSS feeds and weather forecasts, right on your desktop. We can change the skins we like, we also can change the fonts on Rainmeter Skins. Here is the instruction to tell you how to do it.

1. Start Rainmeter.
2. Click “Configs” and then click on “Manage Skins”.
3. Under the “Rainmeter Configs” panel, click on the “Active” tab. Select one skin and then click on “Edit Skin.”
4. Find the text block that starts with “[Variables].” Insert the following content below the “[Variables]” text block: newfont=”Trebuchet MS” Replace “Trebuchet MS” with the name of the font that you’d like to use. Be sure to enclose it in quotes.
5. Find the line “Meter=.” Insert a blank line below it and then type the following code: FontFace=#newfont#
6. Repeat the previous step for each “Meter=” line that you find.
7. Save the changes and close the text file. Click “Refresh All” to apply the settings.


 1. Select the skin you want to install, right click on it and choose “Extract”. 2. Cut and past the new created folder to C:\Documents and Settings\My_User_Name\My Documents\Rainmeter\Skins\ (Windows XP) or C:\Users\My_User_Name\Documents\Rainmeter\Skins(Windows 7 or Vista). 3. Right-click on the taskbar and select “Refresh all.” 4. Open the menu and go to “Configs.” 5. Go to the Configs’s folder you want to install and double-click on the.ini file.
