Monthly Archives: October 2014

How to Modify Font Size in IE?

When you search on the internet, the default font size of the browser is not always good for your eyes. Larger text is easier on the eyes if you are struggling to see things clearly. Smaller text allows room for more graphics to show on a page without having to scroll to see it all. Someday you may want to change the size of the text you see online when you are using Internet Explorer. This article will guide you through.

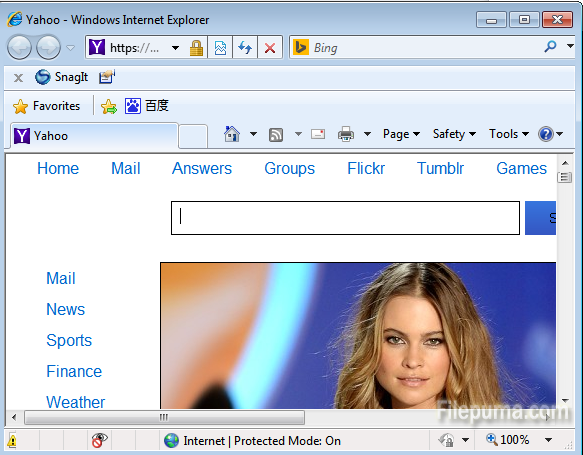
Step One: Open Microsoft Internet Explorer.

01

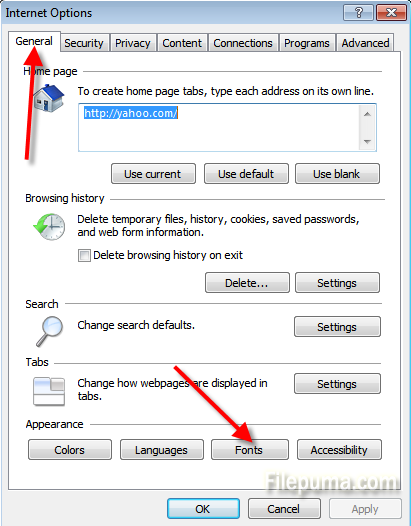
Step Two: Click “ Tools” on the right corner and select “ Internet Options” in the drop-down menu.

02

Step Three: In the Internet Options window, click “General” tab. Select the “Fonts: button at the bottom.

03

Step Four: There in the font window, you can select the proper font you’d like to set.


04

How to Create Schedule for Automatic Scanning

Advanced File Optimizer helps you open all types of files that include audio & video file, graphic file, document file, compressed file, file downloaded from the Internet and many more. It sets default programs and frees you from the trouble of dealing with unknown file and confusing file extensions. You could also create a schedule for automatic scanning, and then your computer will run the program automatically on the date and time you specify. Here is the instruction.


1. Download and install Advanced File Optimizer from here:

http://www.filepuma.com/download/spyhunter_4.18.9.4384-7317/

1

2. Click the “Options” tab on the top of this program, and then click on “Schedule” to go to the system schedule interface.

2

3. First select schedule type: “Every Day” “Run Once” “Every week”, you could also choose “Do not schedule” to cancel the schedule operation.

3

4. Select date and time, week day(s) as you need.

4

5. Click on the “Apply” button on the right bottom of the interface to create the schedule.

5

How to Re-instate a Previously Removed Item with SpyHunter

SpyHunter is a powerful, real-time anti-spyware application certified by West Coast Labs’ Checkmark Certification System and designed to assist the average computer user in protecting their PC from malicious threats. When you remove items with SpyHunter, they are stored in a special quarantine area. But maybe you will need them back for some reasons. What should we do? Here is the instruction to tell you how to re-instate a previously removed item through the below steps.


1. Click on the “Backup” menu to access the Backup Panel. Then the previously removed items will be listed in the main view, and the items will be arranged by time and date.

111

2. Check the check-boxes to the left of the items and click the “RollBack” button to restore items. You could choose the item you want or click “Select All” to restore all the items you removed before. To remove an item from the list, select the check-box to the left of the item and then click on the Remove button.

22