How to Make 2D Pixel Art in Photoshop

Adobe Photoshop CC is the world’s most advanced digital imaging software, used by photographers, designers, web professionals, and video professionals. A sprite is 2D pixel art that you can create using the Photoshop software. Here is the instruction to tell you how to make sprites in Photoshop.

1

1. Download sprites from websites, and open the images in Photoshop to study examples of game sprites.

2. Click “File” in the main menu, click “Open” to browse the image you want to turn into a sprite.

3. Click the “Image—-Image Size.” Enter the width number and click “OK”.

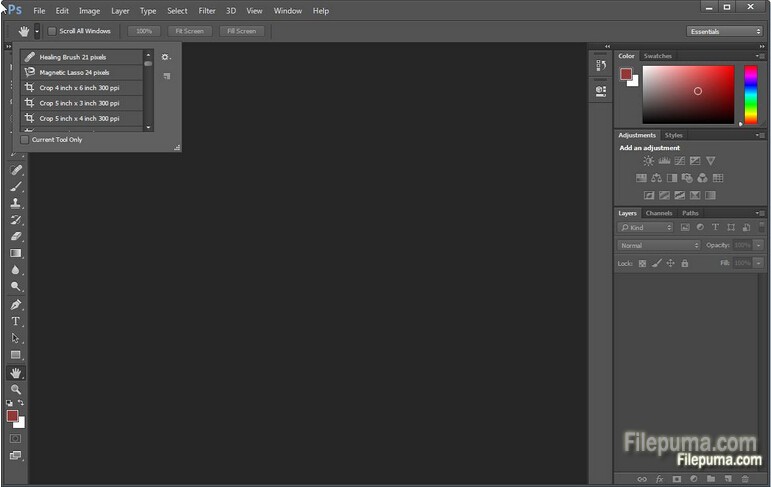
4. Click the “Zoom” tool to zoom in your image.

5. Click the “Brush Tool” and select the “Pencil Tool” from the menu. Click the “Brush” and select the size 1 “Hard Round Brush.”

6. Click the “Layer—-New—-Layer” to create a floating layer over the background.

7. Choose a color, then click on your image with the pencil tool to begin drawing your sprite.

8. Once you finished your painting of the Sprites, double click the “Background” layer to open     a window of prompting you to create a new layer out of the background. Press “OK” to continue.

9. Right-click the “Layer 0” and select “Delete Layer” ro remove the background layer, leaving only your pixel art.

10. Save the file as “GIF” or “PNG” type.

How to Sync With KeePass

KeePass is a free open source password manager, which helps you to manage your passwords in a secure way. You can put all your passwords in one database, which is locked with one master key or a key file. So you only have to remember one single master password or select the key file to unlock the whole database. Here is the instruction to tell you how to sync with KeePass.

1
1. Download and install KeePass from here:

http://www.filepuma.com/download/keepass_2.29-8602/

2. Run KeePass. Go to “KeePassSync Options” click the “Account” tab.

3. Select your trusted online data storage service from the drop down list. It’s better to choose the place you already have an account.

4. Click “Create an Account” to reate an account

5. Select the items that you want to sync to the online account and click “Sync.”

6. Now the specified data will then be uploaded to your online account.

How to Make Stereograms With Adobe Photoshop

Adobe Photoshop CC is the world’s most advanced digital imaging software, used by photographers, designers, web professionals, and video professionals. A stereogram is a chaotic pattern image in which a secondary image is nestled. Here is the instruction to tell you how to make Stereograms with Photoshop.

1
1. Run your Photoshop.

2. Hold “Ctrl” + “N” to open the New Canvas window. Enter the dimensions you want for the stereogram, like “Height” “Width”. Click “Enter” to confirm.

3. Click “Edit—-Fill—-Pattern” step by step to open a a list of patterns. Choose a pattern you like and click “OK.”

4. Click “Rectangular Marquee” tool. Draw a small rectangle in the middle. Hold “Ctrl” +”C” to copy the pattern inside the selection.

5. Go to “Layers”, select “New Layer”. Hold “Ctrl” + “V” to paste the copied pattern. Press the right-arrow key on your keyboard 10 times to move the selection 10 pixels.

6. Save the image.