How to speed up your download in BitComet?

BitComet is a BitTorrent/HTTP/FTP download management software, which is powerful, fast, very easy-to-use, and completely FREE. The advanced features it contains can accelerate your downloading speed up to 5 – 10 times faster, or even more. However, the download speed can be very slow if your Bitcomet listen port is blocked. Here is the instruction to tell you how to open a listen port BitComet by turn the yellow circle to green.

39_b


Log in to Your Router & Set up a Static IP Address


1. Open the Internet address of your router with your browser. You can find this on the back of your router.

2. After it prompted, enter your username and password from the back of router.

3. Look for “Domain Name Server” and note the two sets of numbers next to this.

4. Go to “Start—- Control Panel—-Network and Internet Connections”, right click on Internet connection and go to “Properties—-Internet Protocol—-Properties ”

5. Click on the “Use the Following IP Address” radio button.

6. Enter “192.168.0.X” into the “IP Address” box, replacing “X” with a number except 1.

7.Enter “255.255.255.0” into the “Subnet Mask” box and “192.168.0.1” into the “Default Gateway” box.

8. Enter the two sets of numbers you’ve just noted down. Select “OK.”


Find and open the Listen Port


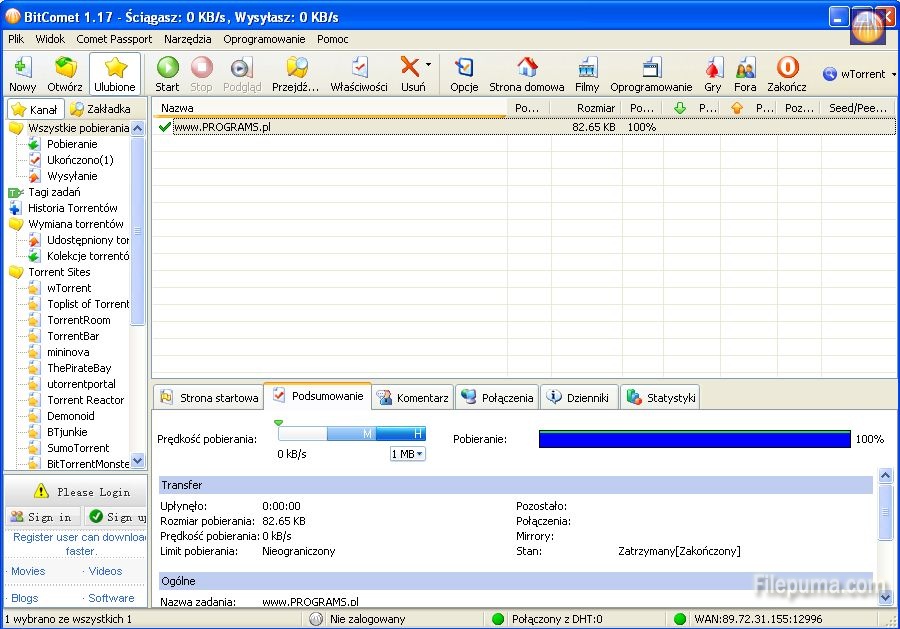
1. Open Bitcomet, go to”Tools—-Options.” Note down the number in the “Listen Port” box.

2. Keep “Enable UPNP Port Mapping” unchecked.

3. Click OK and quit this program.

4. Click on “Services—- Add Custom Service.”

5. Set the “Type” option to “TCP/UDP” and name it.

6. Enter the number you just noted down from Bitcomet into both the “Start Port” box and the “Finish Port” box. Select “Apply.”

7. Click on “Firewall Rules”, click on “Add” in the “Outbound Services”. Choose the “Service” you created..

8. Set the “Action” option to “Allow Always” and the “LAN Users” option to “Single Address.”

9. Enter the IP address you created into the box provided. Set the “WAN Users” to “Any” and select “Apply.”

10. Click “Add” in the “Inbound Services” section. Then repeat the last two steps.

11. Click on the “Apply” button, then choose “Log Out.”

How to Disable the Comodo Firewall

Comodo Firewall is a simple, effective and discrete personal firewall. It’s easy enough to use – no matter what your computer skills are – and displays very informative notifications. Comodo’s award-winning firewall provides users with prevention-based PC protection that slams the door shut on viruses, malware, and hackers. Firewall is also a part of Comodo Internet Security Pro 2011, which gives you the most robust defense and includes other components like WiFi security, live 24/7 expert assistance for numerous computing needs. But once you are trying a new antivirus program but want to keep Comodo for now then you should disable it from running on your PC. Here is the instruction to tell you how to disable the Comodo Firewall.

2
1. Go to the “Start” menu, type “msconfig” in the search box and press “Enter” to open the System Configuration window.

1

2. Click the “Startup” tab in the window.

3. Uncheck the “Comodo Firewall ” from the list and click “Apply” and then “OK.” Save the settings and restart your computer.

How to Remove Rundll32

Rundll32.exe is a process for loading dynamic linked library (DLL) files in memory of Microsoft Windows. It allows other programs can use it. These files cannot be launched directly. So once Run32dll error message window comes up for the virus in your PC, we may need the following instruction to solve it instead of deleting it directly.

1
1. Go to C:\Windows\System32\ to find the Rundll32.exe file.

2. Select the file, copy it to a safe place for backup, just in case if something goes wrong, you won’t regret. Rename it to another name and remember it.

3. In fact, you could try to delete the file directly by clicking “Delete.” This may succeed or fail. It failed because there are “locks” on the file that may keep it from being opened or removed.

4. Download a software to remove locks placed on programs and files, like Unlocker. Install it and run it.

5. Right click the Rundll32.exe file, select “Unlocker.”

6. Select the “Unlock All” button on the window, then choose “Quit.” Now you’ve successfully removed the lock. Go back to your dll. file, click delete.